Android Studio實現簡單的QQ登錄界面的示例代碼
一、項目概述
QQ是我們日常生活使用最多的軟件之一,包含登錄界面和進入后的聊天界面、好友列表界面和空間動態界面等。登錄界面的制作比較簡單,主要考驗布局的使用,是實現QQ項目的第一步。現在APP開發的首要工作都是實現登錄頁面,所以學會了QQ登錄界面對以后的軟件開發有著很重要的作用。
二、開發環境
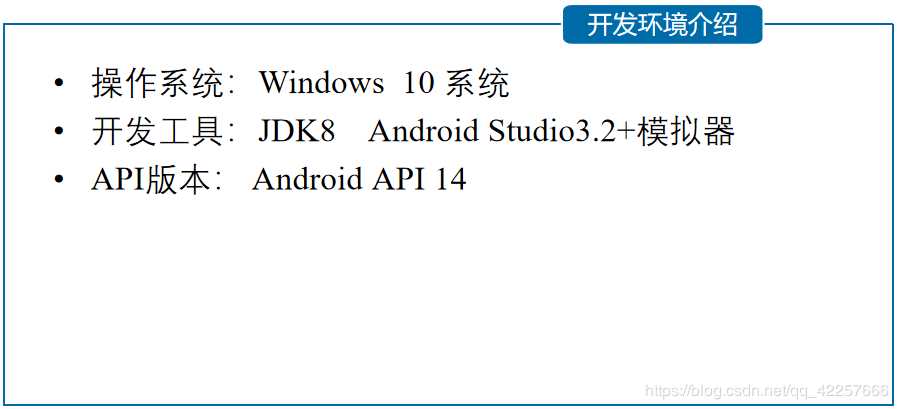
三、詳細設計
1、頭像設計
首先在layout文件里面選擇了RelativeLayout(相對布局)作為整個頁面的布局。
在頂端放置了一個ImageView控件,寬度和高度設置的都是70dp,水平居中設置為true。
然后使頭像在整個頁面下調一點,不要緊貼著頂端,所以layout_marginTop設置為40dp。
最后選擇drawable文件夾中的head文件作為頭像。代碼如下:
<ImageView android:id=’@+id/iv’ android:layout_width='70dp' android:layout_height='70dp' android:layout_centerHorizontal='true' android:layout_marginTop='40dp' android:background='@drawable/head'/>
2、賬號輸入框
利用LinearLayout(線性布局)作為賬號輸入框的外層布局,orientation設置的為水平排列。
放置了一個TextView控件,寬度和高度設置的wrap_content,即適應內容大小,顯示文本“賬號”。
緊接著放置一個EditText控件,用于輸入賬號內容,使用layout_toRightOf屬性定位于賬號的右側。
<LinearLayout android: android:layout_width='match_parent' android:layout_height='wrap_content' android:layout_below='@id/iv' android:layout_centerVertical='true' android:layout_marginBottom='5dp' android:layout_marginLeft='10dp' android:layout_marginRight='10dp' android:layout_marginTop='15dp' android:background='#ffffff' android:orientation='horizontal'> <TextView android: android:layout_width='wrap_content' android:layout_height='wrap_content' android:padding='10dp' android:text='賬號:' android:textColor='#000' android:textSize='20sp' /> <EditText android: android:layout_width='match_parent' android:layout_height='wrap_content' android:layout_toRightOf='@id/tv_number' android:layout_marginLeft='5dp' android:background='@null' android:inputType='text' android:padding='10dp' /> </LinearLayout>
3、密碼輸入框
最外層依舊是LinearLayout(線性布局),整體放置在上一個LinearLayout的下面,控件排列依然為horizontal(水平)。
放置一個TextView文本顯示框,文本內容是“密碼”,文本顏色為黑色,文本大小為20sp。
再放置一個EditText文本輸入框,inputType設置為textPassword,輸入時候會隱藏輸入內容,使用*** 代替。
<LinearLayout android: android:layout_width='match_parent' android:layout_height='wrap_content' android:layout_below='@+id/number_11' android:layout_centerVertical='true' android:layout_marginLeft='10dp' android:layout_marginRight='10dp' android:background='#ffffff' android:orientation='horizontal'> <TextView android: android:layout_width='wrap_content' android:layout_height='wrap_content' android:padding='10dp' android:text='密碼:' android:textColor='#000' android:textSize='20sp' /> <EditText android: android:layout_width='match_parent' android:layout_height='wrap_content' android:layout_marginLeft='5dp' android:layout_toRightOf='@id/tv_password' android:background='@null' android:inputType='textPassword' android:padding='10dp'/> </LinearLayout>
4、登錄按鈕
在賬號密碼框下方放置一個Button控件,文本內容為“登錄”,文本顏色為藍色。
<Button android: android:layout_width='match_parent' android:layout_height='wrap_content' android:layout_marginTop='38dp' android:background='#3C8DC4' android:text='登錄' android:textColor='#ffffff' android:textSize='20sp' android:layout_below='@+id/password_11' android:layout_alignParentLeft='true' android:layout_alignParentStart='true'/>
5、按鈕點擊事件
在MainActivity里面先聲明了btn這個變量,并與剛剛設置的登錄按鈕進行綁定。
然后使用了setOnClickListener按鈕點擊事件監聽器,在監聽器里面聲明了onClick方法,在里面聲明了dialog變量,即顯示對話框。
setTitle( )設置了對話框的標題為“賬號或密碼不能為空”,setIcon( )設置了對話框標題圖標,setMessage( )設置對話框的提示信息為'請輸入賬號和密碼' 。
最后添加了'確定'按鈕和“取消”按鈕,點擊按鈕都會調用dialog.dismiss()方法關閉對話框。
public class MainActivity extends AppCompatActivity { public Button btn; @Override protected void onCreate(Bundle savedInstanceState) { super.onCreate(savedInstanceState); setContentView(R.layout.activity_main); btn = (Button) findViewById(R.id.btn_login);//綁定登錄按鈕 btn.setOnClickListener(new View.OnClickListener() { @Override public void onClick(View v) {android.app.AlertDialog dialog;android.app.AlertDialog.Builder builder = new AlertDialog.Builder(MainActivity.this) .setTitle('賬號或密碼不能為空') //設置對話框的標題 .setIcon(R.mipmap.ic_launcher)//設置對話框標題圖標 .setMessage('請輸入賬號和密碼')//設置對話框的提示信息 //添加'確定'按鈕 .setPositiveButton('確定', new DialogInterface.OnClickListener() { @Override public void onClick(DialogInterface dialog, int which) {dialog.dismiss(); //關閉對話框MainActivity.this.finish(); //關閉MainActivity } }) //添加“取消”按鈕 .setNegativeButton('取消', new DialogInterface.OnClickListener() { @Override public void onClick(DialogInterface dialog, int which) {dialog.dismiss(); //關閉對話框 } });dialog = builder.create();dialog.show(); } }); }}
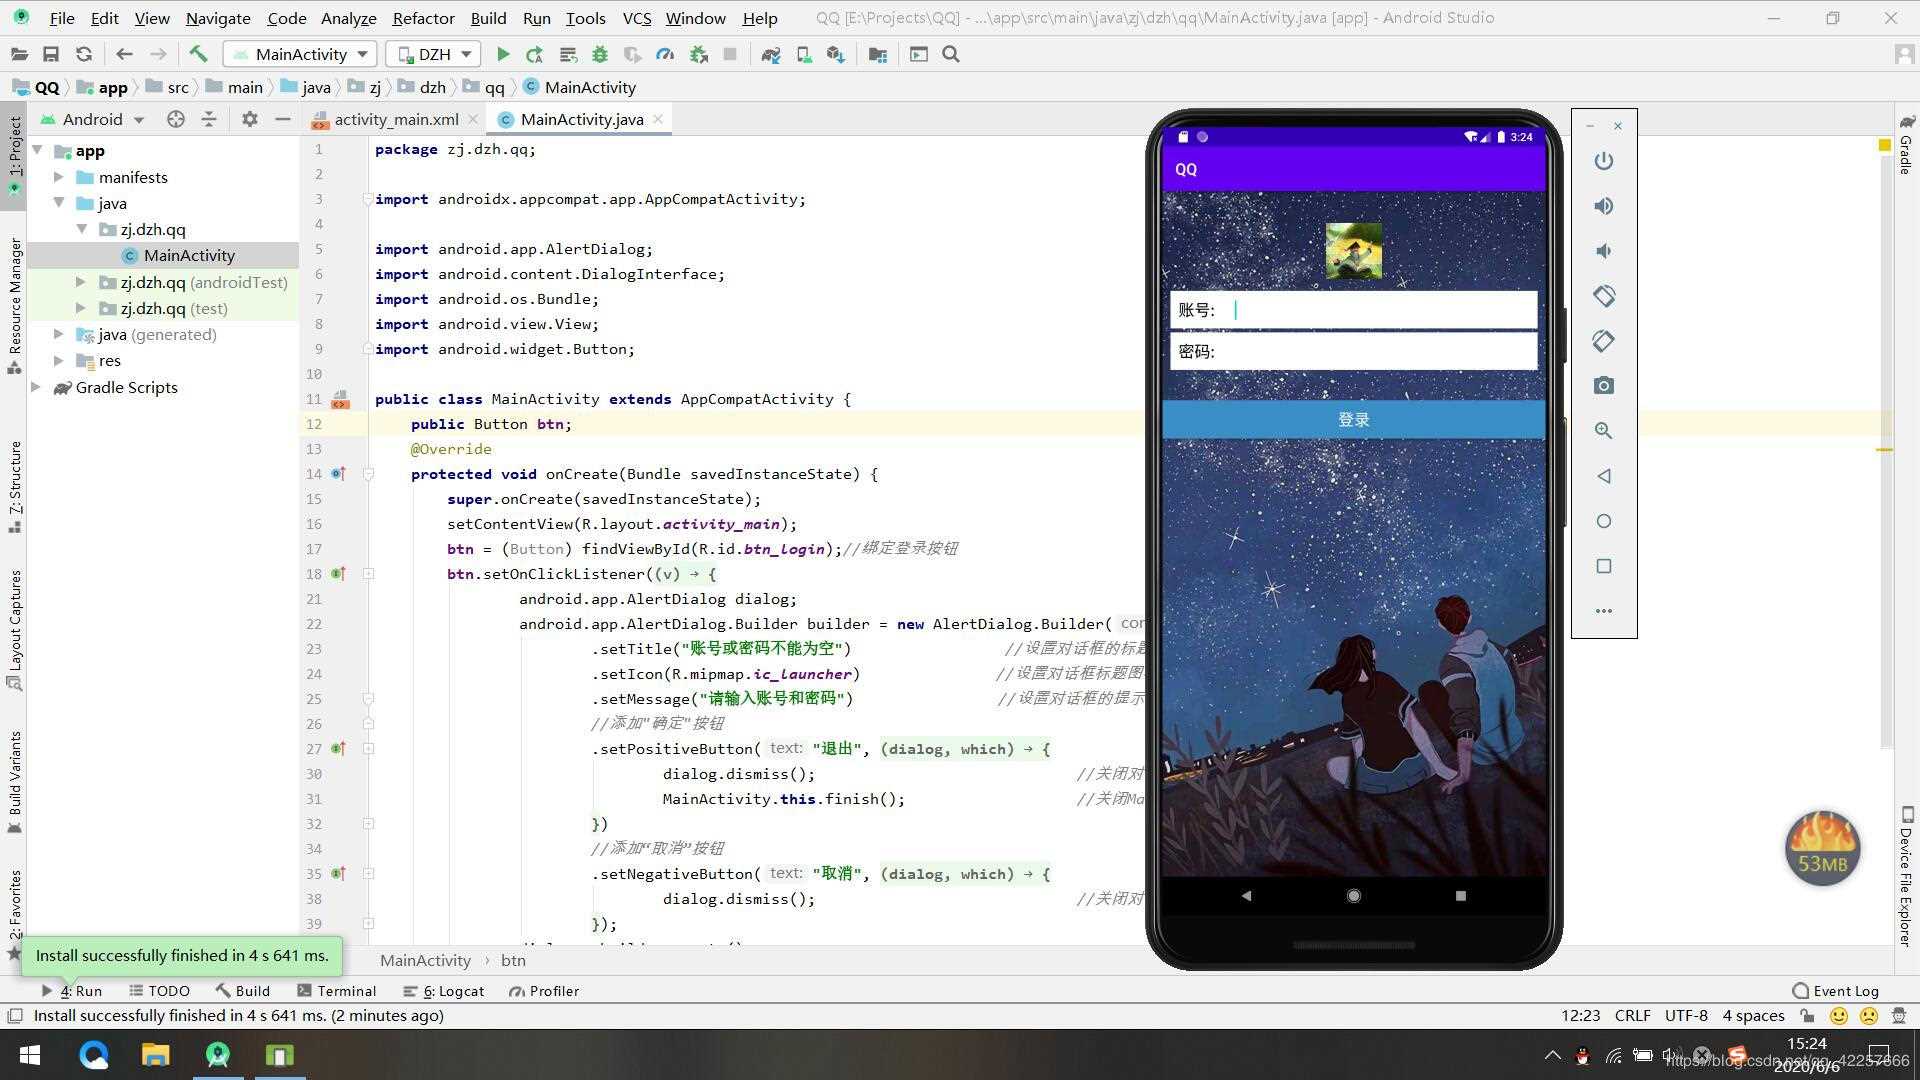
四、項目效果
1、用模擬器運行。
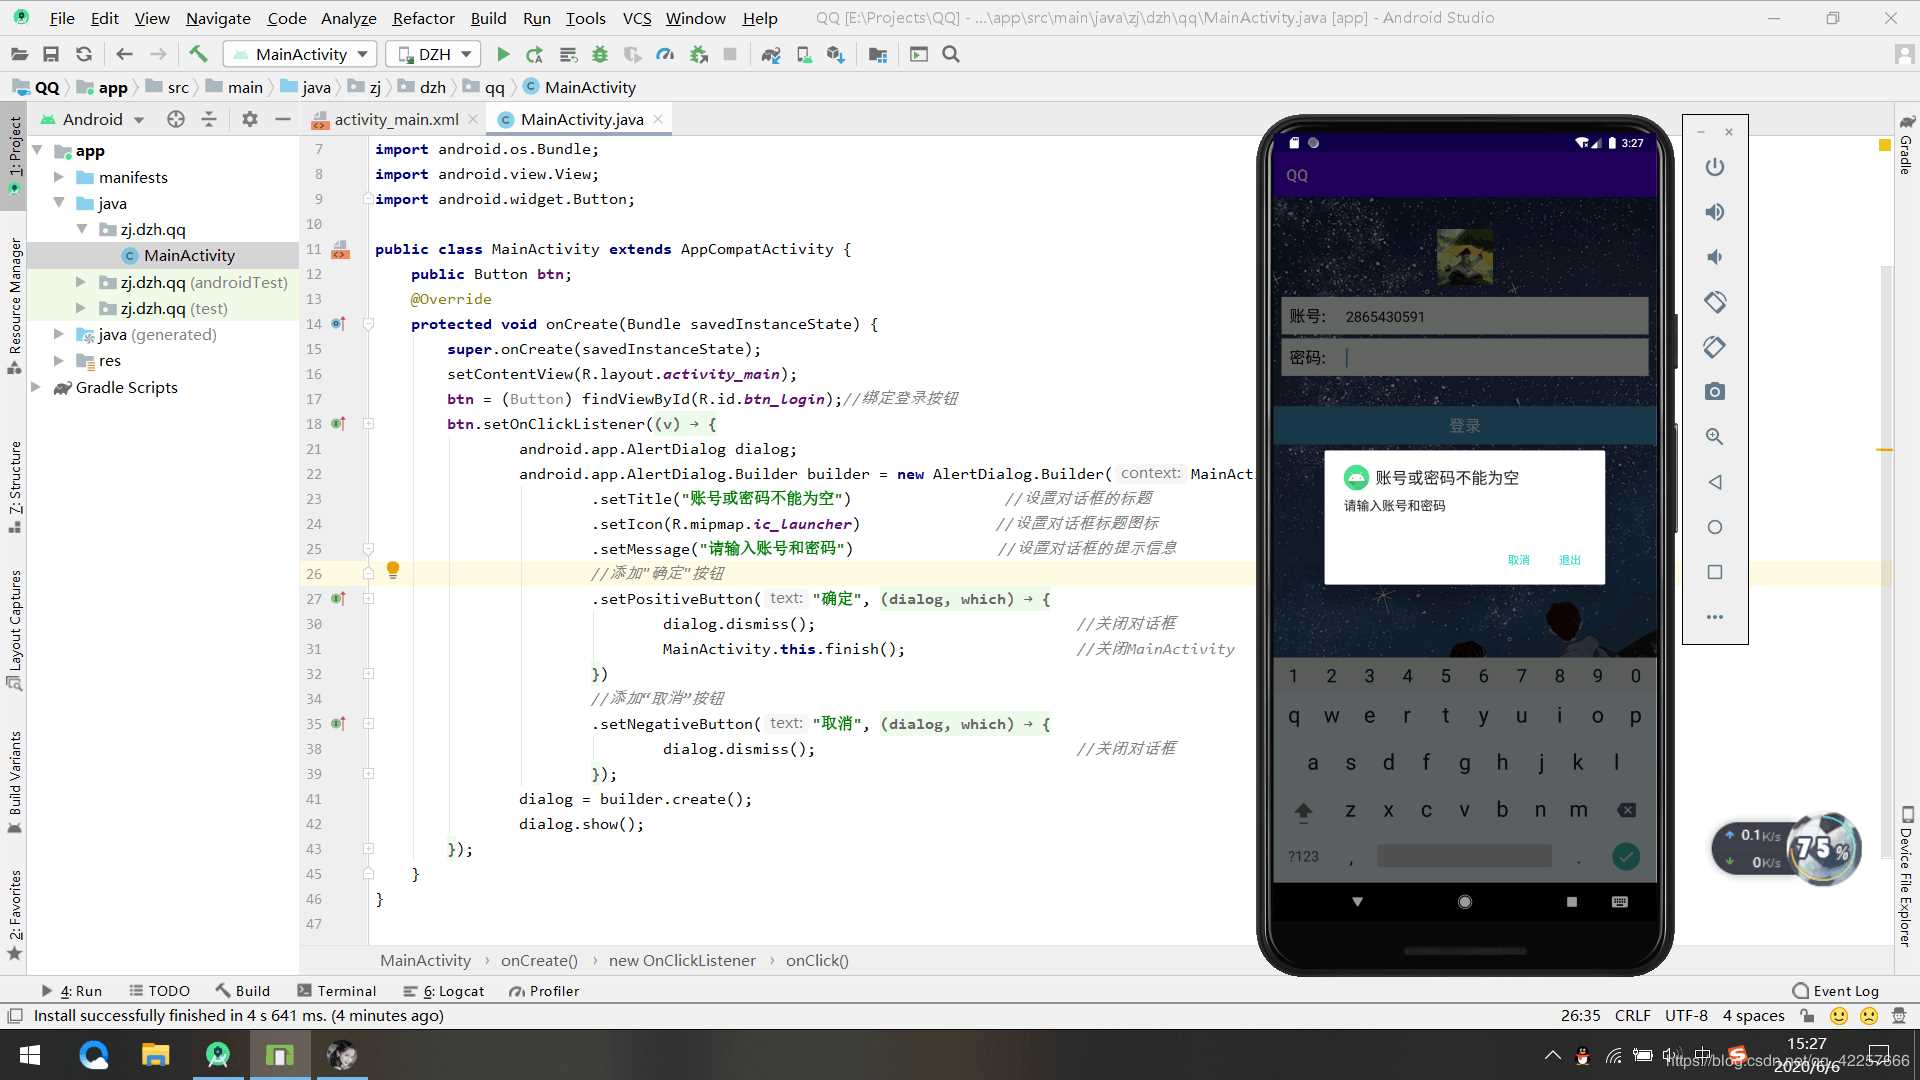
2、輸入賬號不輸入密碼,點擊登錄按鈕會顯示提醒對話框。
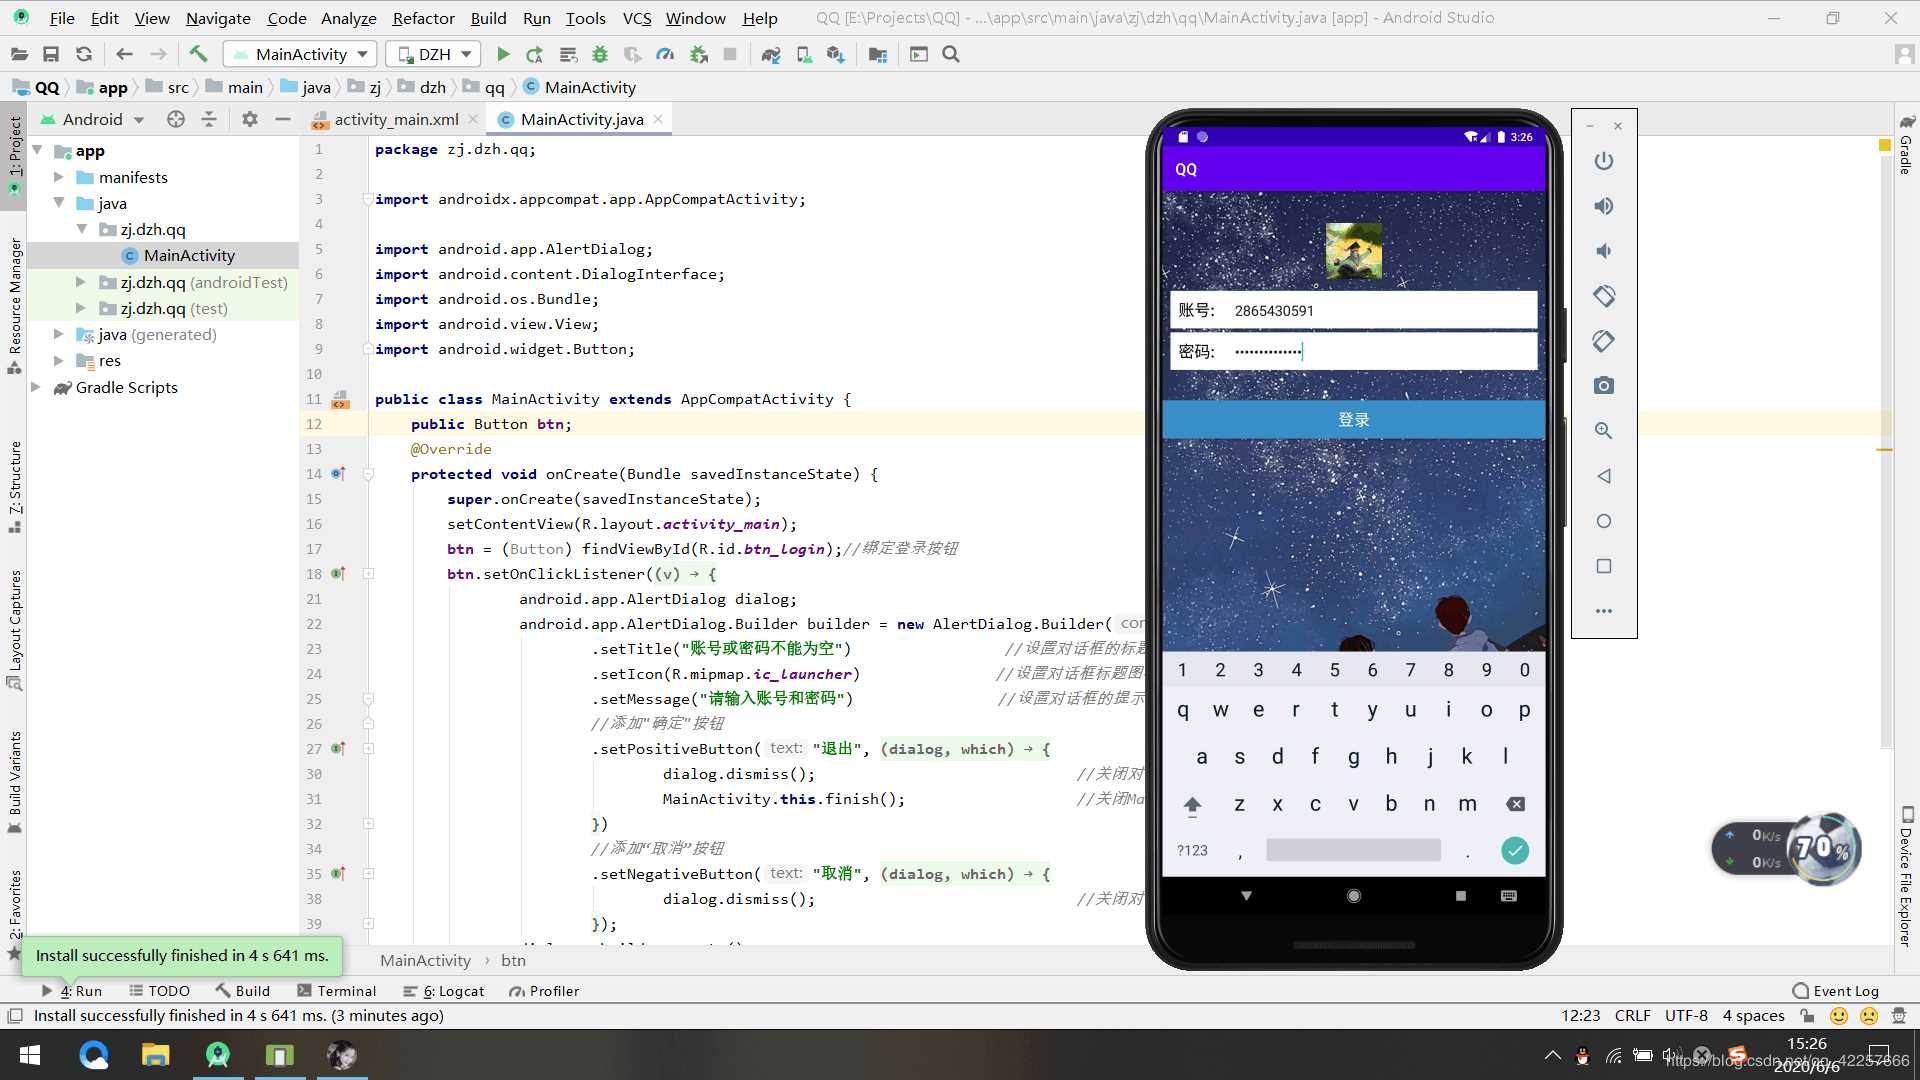
3、輸入賬號和密碼。
五、項目總結
本次項目屬于比較基礎的內容,希望初學者通過這次項目熟練掌握界面布局和控件的使用,為以后的項目開發打下堅實的基礎。
本次項目文件的源碼鏈接如下:QQ_jb51.rar
到此這篇關于Android Studio實現簡單的QQ登錄界面的示例代碼的文章就介紹到這了,更多相關Android Studio QQ登錄界面內容請搜索好吧啦網以前的文章或繼續瀏覽下面的相關文章希望大家以后多多支持好吧啦網!
相關文章:

 網公網安備
網公網安備