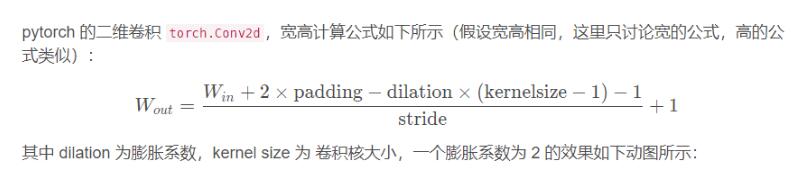
原生js實現星星閃爍效果
本文實例為大家分享了js實現星星閃爍效果的具體代碼,供大家參考,具體內容如下
星星閃爍的原理其實很簡單:
html代碼:
<body style='background:#000'> <div id='stars_box'></div></body>
js:
var stars_box=document.getElementById(’stars_box’); //獲取id為star_box的元素var Obj=function(){} //創建一個對象 Obj.prototype.drawStar=function(){ //增加對象原型方法drawStar var odiv=document.createElement(’div’); //創建div odiv.style.width=’7px’; odiv.style.height=’7px’; odiv.style.position=’relative’; //設置div為相對定位 odiv.style.left=Math.floor(document.body.clientWidth*Math.random()) ’px’; //div的left值不能超出屏幕的寬度 odiv.style.top=Math.floor(document.body.clientHeight*Math.random()) ’px’;//div的left值不能超出屏幕的高度 odiv.style.overflow=’hidden’; //設置div的overflow為hidden stars_box.appendChild(odiv); //添加div到stars_box元素上 var ostar=document.createElement(’img’); //再創建img元素 ostar.style.width=’49px’; ostar.style.height=’7px’; ostar.src=’star.png’; ostar.style.position=’absolute’; //設置img為絕對定位 ostar.style.top=’0px’; odiv.appendChild(ostar); //把img添加到div中 Play(ostar); //實現動畫閃爍的方法Play(); } function Play(ele){ var i=Math.floor(Math.random()*7); //為了使星星不同時閃爍,設置隨機值 var timer=setInterval(function(){ //每100ms執行一次匿名方法 if(i<7){ ele.style.left=-i*7 ’px’; i ; }else{ i=0; } },100); } //使用for循環創建30個不同的對象 for(var i=0;i<30;i ){ var obj=new Obj(); obj.drawStar(); }
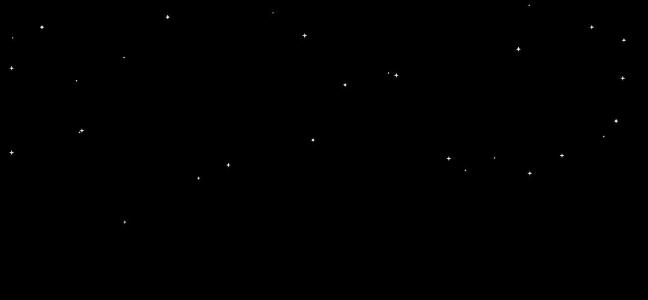
星星閃爍靜態效果圖:
最后附上星星img圖:

以上就是本文的全部內容,希望對大家的學習有所幫助,也希望大家多多支持好吧啦網。
相關文章:

 網公網安備
網公網安備